Visyond helps you easily manage Named Ranges.
Create Named Ranges Using the Textbox
One way to create a Named Range is to:
- Select a range in the spreadsheet
- Type the name in the textbox on the top left
In the example below row 18 has a natural name Revenues – Total, and the textbox displays the selected range: Revenues_Total[01_01_2022]:Revenue_Total[01_03_2022].
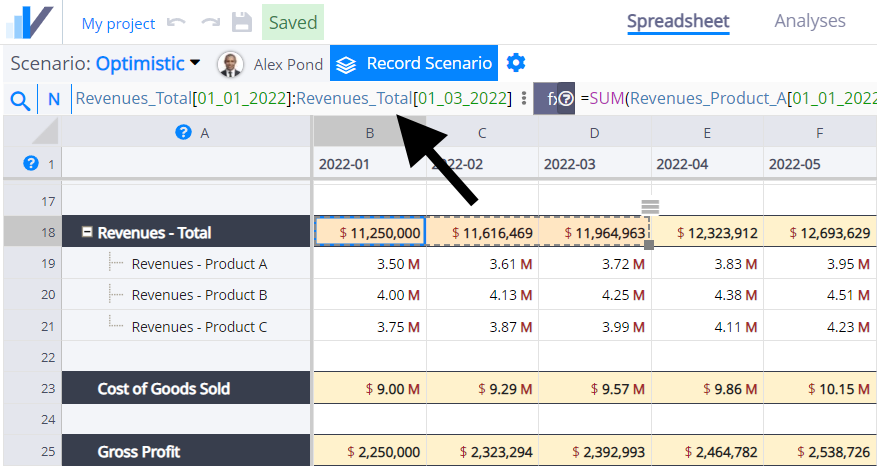
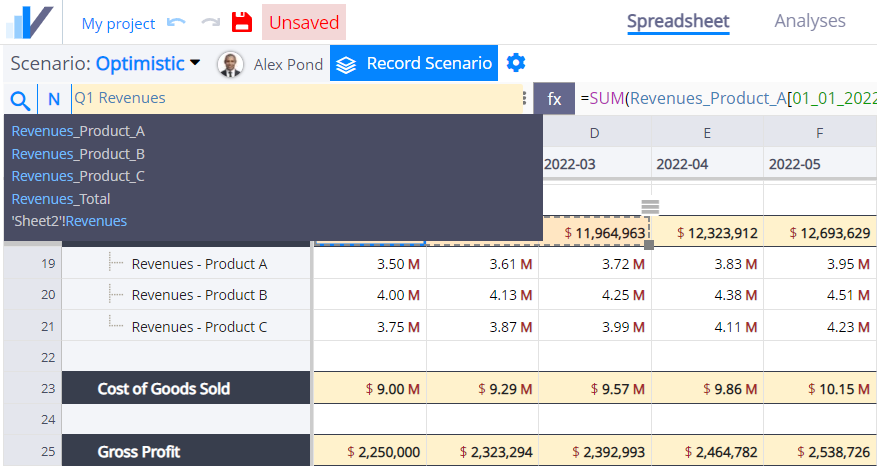
To give a name to this range, type its name in the textbox (e.g. Q1 Revenues) and press the Enter key:
Create Named Ranges Using the Named Ranges Panel
The Named Ranges panel displays all the Named Ranges in the project.
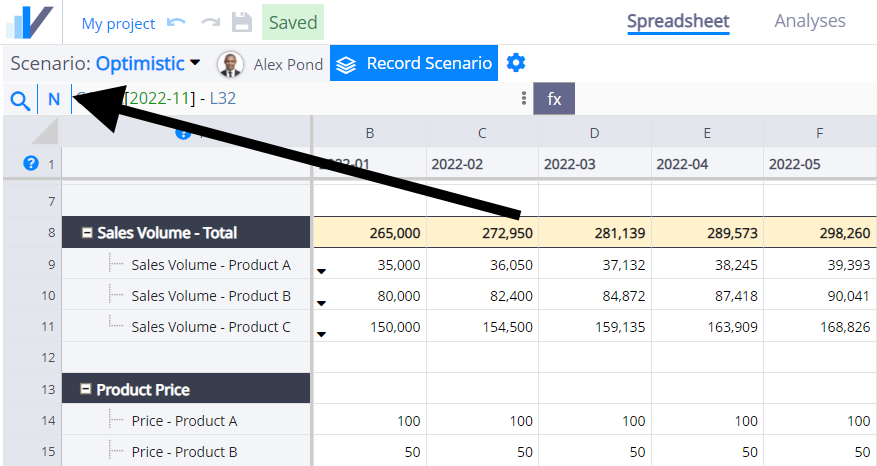
Open the Named Ranges Panel
Open the panel by clicking on the N button:
Type a new name, a range (or a formula that returns a range), and click ‘Add’ to create a new Named Range.
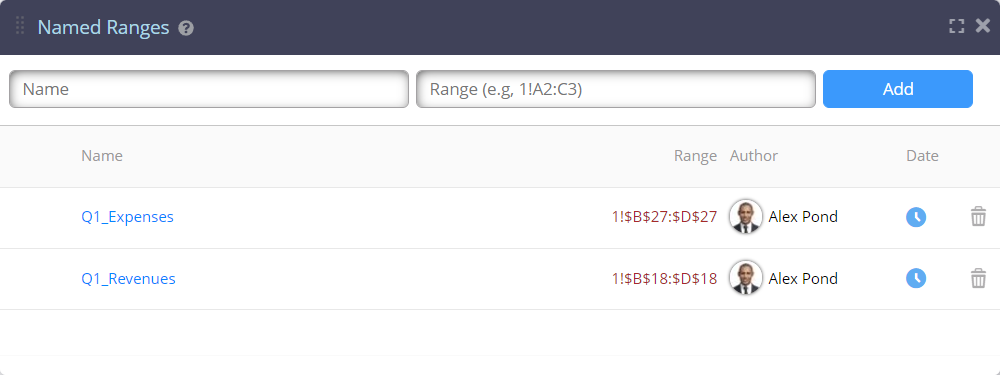
Edit and Delete Named Ranges
Click on the Name or Range to edit them. Click on the bin icon to delete the range.
When you delete a range, all its occurrences will be replaced with the corresponding range.